


Commercial vehicle radiator support systems are essential for cooling and stability but can suffer from wear, damage, rust, or collision events. Prompt replacement involves diagnosis, safe removal of old parts, installation of new, compatible supports, reassembly, and final inspection to maintain optimal performance and prevent serious repairs. This guide emphasizes safety first and provides steps for efficient radiator support replacement.
In the world of fleet and commercial vehicles, efficient cooling systems are paramount. This article guides you through the essentials of radiator support replacement, a critical component for maintaining optimal engine performance. Understanding the intricate radiators support systems in these vehicles is key to identifying common issues like rust damage or structural failures. By mastering the step-by-step process, fleet managers and mechanics can efficiently replace supports, ensuring sustained reliability and minimizing downtime. Discover expert tips for a seamless, cost-effective solution.
- Understanding Radiator Support Systems in Commercial Vehicles
- Common Issues Leading to Radiator Support Replacement
- Step-by-Step Guide: Efficiently Replacing Radiator Supports
Understanding Radiator Support Systems in Commercial Vehicles
Commercial vehicles, from trucks to vans, rely on robust radiator support systems to manage engine heat and ensure optimal performance. These systems, often integrated into the vehicle’s chassis, play a crucial role in preventing overheating, especially during prolonged operation or in demanding environments. Understanding the various components that constitute these systems is essential when considering radiator support replacement, especially for fleet managers and commercial vehicle owners.
Radiator support structures typically involve brackets, mounts, and sometimes complex frameworks designed to stabilize the radiator, heater core, and associated parts. Over time, these components can wear out or sustain damage due to vehicle accidents (automotive repair), extreme weather conditions, or heavy use. When signs of fatigue or failure appear, such as rattling noises, leaks, or inefficient cooling, it may be necessary to replace them to maintain the efficiency and longevity of the overall cooling system. Efficient radiator support replacement involves careful diagnosis, proper tools, and adherence to safety guidelines, ensuring the vehicle’s continued reliability in various operating conditions (frame straightening).
Common Issues Leading to Radiator Support Replacement
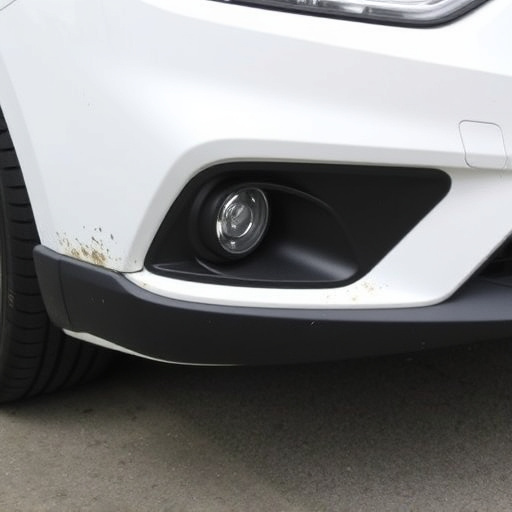
Radiator support systems are integral to the cooling mechanism of vehicles, and issues with them can lead to serious problems. Common problems that necessitate a radiator support replacement include rusting, especially in regions with harsh climates or frequent exposure to water, which weakens the structure and compromises its ability to retain heat effectively. Damage from automotive collisions or hail damage repair events is another significant cause, leading to bends, cracks, or complete failure of the components.
Over time, the constant exposure to varying temperatures during driving cycles can take a toll on these parts, causing them to expand and contract, eventually leading to loose connections and reduced structural integrity. Such problems not only impact the cooling performance but also pose safety risks, especially in commercial fleets where vehicles are subjected to frequent and prolonged use. Timely replacement of faulty radiator supports is crucial for maintaining optimal vehicle performance and preventing more severe luxury vehicle repair issues down the line.
Step-by-Step Guide: Efficiently Replacing Radiator Supports
Replacing a radiator support is a crucial task for fleet managers and commercial vehicle owners to ensure optimal performance and longevity of their vehicles. Here’s a step-by-step guide to help you navigate this process efficiently:
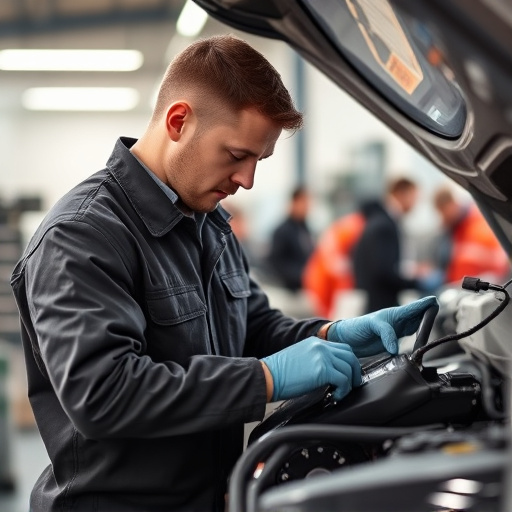
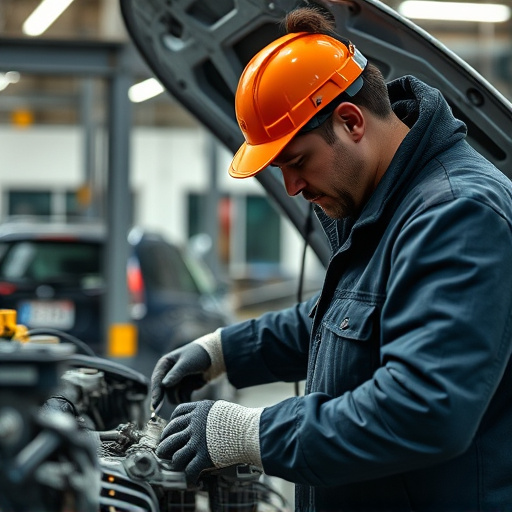
1. Safety First: Before beginning, ensure the vehicle is securely parked on a level surface, engage the parking brake, and allow sufficient time for the engine to cool down. Put on protective gear, including gloves and safety glasses, as a precautionary measure.
2. Identify the Issue: Check for any visible damage or leaks around the radiator support area. Common signs include rust, cracked or broken components, or an unusual noise during operation. This step is vital in determining the exact replacement parts needed.
3. Remove the Old Support: Start by disconnecting the negative battery terminal for safety. Then, locate and remove any bolts, brackets, or fasteners holding the old radiator support in place. It may require a jack to lift the vehicle if access is restricted. Once free, inspect the surrounding area for any additional components that need replacement.
4. Install the New Support: Obtain the appropriate radiator support replacement from a reputable supplier, ensuring it’s compatible with your Mercedes-Benz repair model. Align the new support accurately and secure it with bolts, following the vehicle manufacturer’s specifications for torque settings.
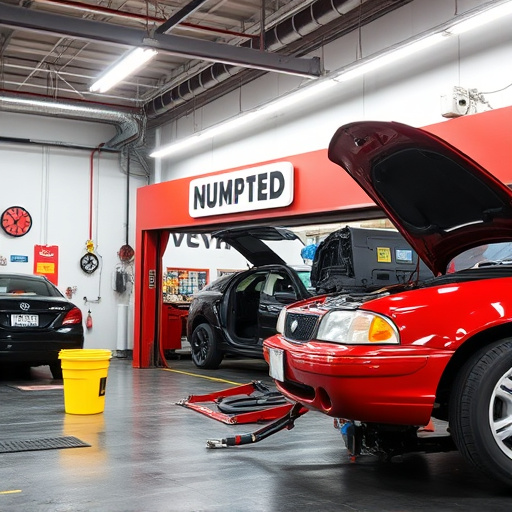
5. Reassemble and Test: Put back any other removed parts and ensure all components are securely fastened. Before operating the vehicle, check for any leaks and top up coolant if necessary. A visit to a collision center or collision repair center for an inspection is recommended to ensure the job is done correctly.
When it comes to fleet and commercial vehicles, a well-maintained radiator support system is essential for optimal performance and efficiency. By understanding common issues and following a step-by-step guide for replacement, vehicle owners can ensure their cars stay reliable on the road. Remember, a timely radiator support replacement can prevent costly breakdowns and keep your fleet running smoothly.